Key Takeaways
- Structured Duration: A standard lesson lasts approximately 2 hours, divided into briefing, land practice, and water time.
- Foundation First: The “pop-up” is drilled on the sand first to build muscle memory before entering the water.
- Safety Centric: Professional instructors prioritize ocean safety, including falling techniques and current awareness.
- Wave Selection: Beginners typically start in the “whitewater” (broken waves) for stability and higher repetition.
- Feedback Loop: Rapid progress comes from immediate corrections after every wave attempt.

Before You Arrive: Crucial Pre-Lesson Preparation
The success of your first surf lesson begins long before you touch the water. Physical preparation and timing play a massive role in how much energy you’ll have for the actual surfing. Bali’s tropical environment is demanding; the combination of high humidity, intense UV rays, and the physical exertion of paddling can quickly lead to fatigue if you aren’t prepared.
To maximize your 2-hour session, follow these preparation steps:
- Nutrition Timing: Eat a light, carbohydrate-rich meal approximately 60–90 minutes before your lesson. Bananas, toast with peanut butter, or yogurt are excellent choices. Avoid heavy, greasy meals that might cause discomfort during the prone paddling position.
- Hydration: Start hydrating the evening before and continue up to 30 minutes before your session. Saltwater and the tropical sun are a dehydrating combination.
- Sun Protection: Apply high-SPF, water-resistant sunscreen (preferably zinc-based for the face) at least 20–30 minutes before entering the water. This allows the cream to absorb and prevents it from running into your eyes.
- Appropriate Swimwear: Choose swimwear that is secure. For women, a one-piece or sports-style bikini is recommended; for men, boardshorts with a secure drawstring. You will likely be provided with a rash vest to prevent “board rash” on your stomach and chest.
If you haven’t decided which beach is best for your first time, we recommend checking our guide on the best beginner surf spots in Bali to understand the differences between Balangan, Dreamland, and Padang Padang.
Step 1: The Meet-Up and Equipment Selection
When you arrive at the designated meeting point, your instructor will begin by assessing your current level and comfort in the water. Even if you’ve never touched a surfboard, this conversation helps the instructor tailor their coaching language to your needs. They will select the appropriate equipment based on your height, weight, and the day’s conditions.
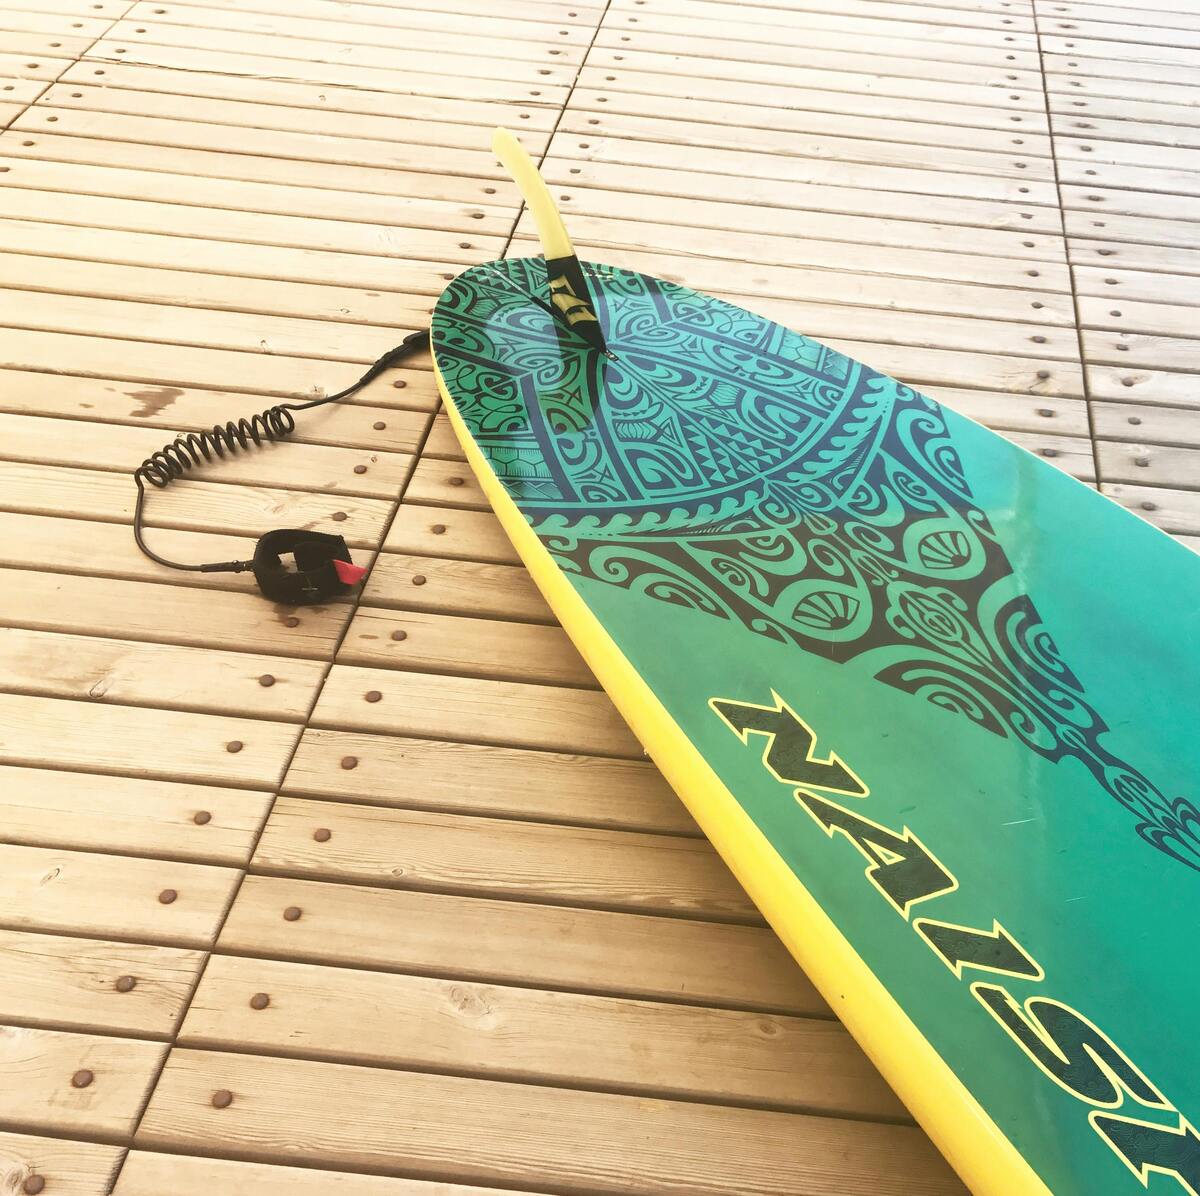
For complete beginners, the choice of board is non-negotiable: you will be using a **soft-top surfboard** (often 8 to 9 feet long). These boards are designed with high volume, making them incredibly stable and easy to paddle. The soft foam exterior also provides a significant safety margin, reducing the risk of injury if the board bumps into you during a fall. Your instructor will also provide a rash vest and, most importantly, the **leash** (or leg rope) which keeps the board attached to your ankle at all times.

Step 2: The Ocean Safety Briefing (Non-Negotiable)
Before any surfing happens, a professional lesson must include a safety briefing. This is where you learn to “read” the ocean. Your instructor will point out the specific geography of the beach, identifying where the waves break, where the “channel” (safe zone) is, and any potential hazards like rocks or changing tides.
Key safety concepts covered include:
- Safe Falling: You will be taught to always fall away from the board, cover your head with your arms as you surface, and fall flat (the “starfish”) to avoid hitting the bottom.
- Board Management: Never let the board get between you and the incoming waves. A board caught by a wave can be a heavy projectile.
- Current Awareness: Understanding what to do if you find yourself drifting. The golden rule is never to panic and always stay with your board—it is your primary flotation device.
- Hand Signals: Basic communication for when you’re in the water, as the roar of the ocean can make verbal coaching difficult.
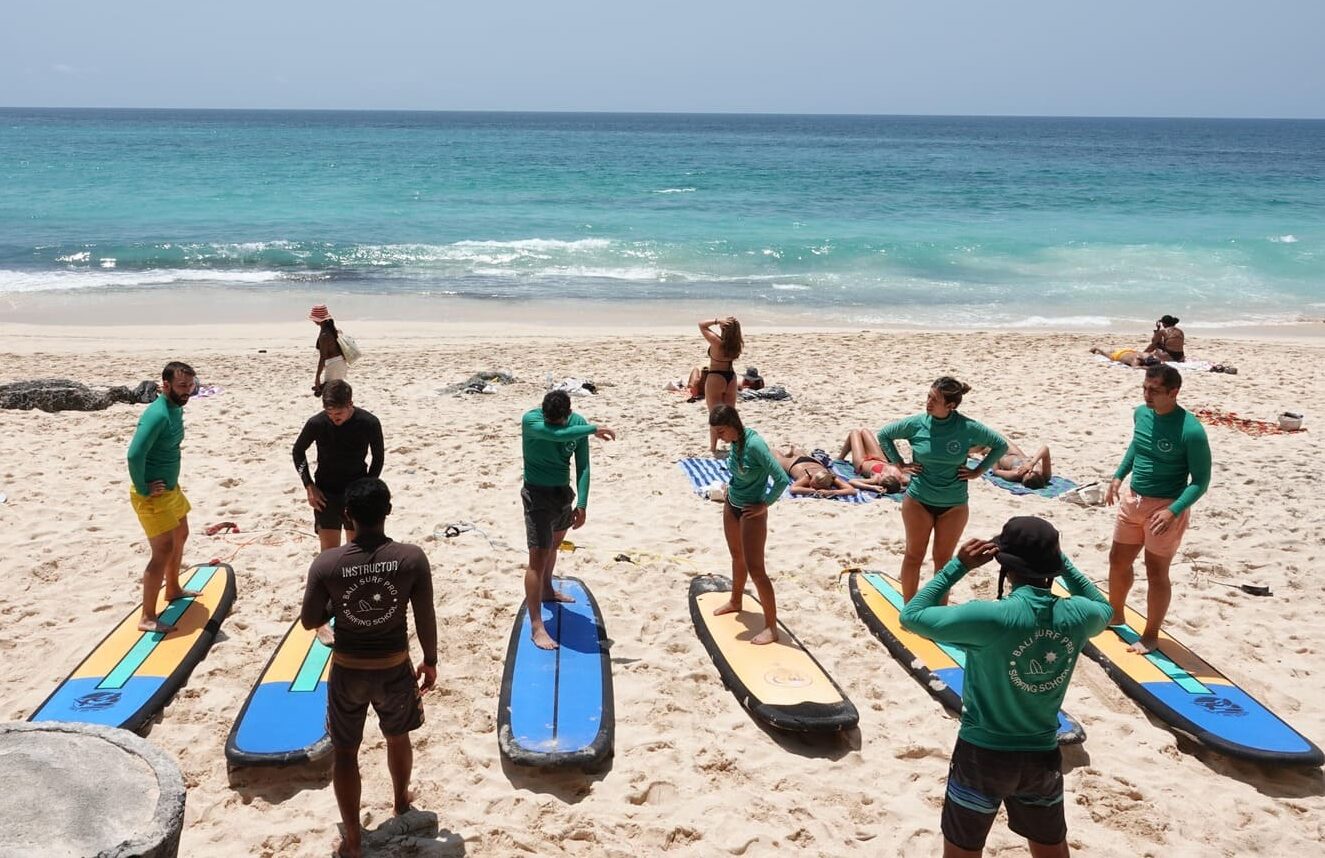
Step 3: Pop-Up Practice on the Sand
This is the most critical technical part of the lesson. The “pop-up” is the explosive movement that takes you from lying prone to standing on your feet. Doing this correctly on the sand is much easier than doing it on a moving wave, so this stage is about building muscle memory through repetition.
Your instructor will break the movement down into five key elements:
- Paddling Posture: Chest high, arching your back slightly, and looking forward (not down at the board).
- Hand Placement: Placing your hands flat on the board directly under your chest—never grabbing the rails (edges).
- The Movement: Pushing up and bringing your feet into a surfing stance in one fluid motion. Beginners often make the mistake of going to their knees first; your instructor will correct this to ensure a clean transition.
- The Stance: Feet shoulder-width apart, knees bent (not locked), and centered on the board’s stringer (middle line).
- Visual Focus: Looking toward the shore. In surfing, where you look is where you go. If you look at your feet, you will likely fall forward.

Step 4: Water Entry and Positioning
Now comes the exciting part. You’ll carry your board into the water, learning how to handle its weight against the incoming waves. Your instructor will show you how to push the board over small waves and how to time your entry to reach the “impact zone” where you’ll catch your first waves.
For the first 30–45 minutes, you will focus on **whitewater waves**. These are waves that have already broken and are moving toward the shore as a wall of foam. They are much more stable and predictable than “green” (unbroken) waves, making them perfect for practicing your balance and pop-up timing. Your instructor will be right there with you, often holding the back of your board to keep you stable and giving you a gentle push to help you match the wave’s speed.

Step 5: The Feedback Loop (The Secret to Rapid Progress)
Surfing is a sport of minute adjustments. In a high-quality lesson, you shouldn’t just be catching waves; you should be learning from every attempt. This is the “feedback loop” where your instructor observes your ride and gives you 1 or 2 specific things to focus on for the next wave.
Typical high-impact fixes for beginners include:
- “Eyes Up!”: If you’re falling forward, it’s usually because you’re looking at your feet. Looking at the horizon instantly shifts your weight back and stabilizes the board.
- “Hands Back!”: If the board’s nose is diving (pearling), your weight is too far forward. Moving your hands slightly back during the pop-up helps keep the nose up.
- “Widen Your Stance!”: A narrow stance is like standing on a tightrope. Widening your feet gives you a solid base.
- “Center Your Weight!”: Many beginners lean too far to one side. Your instructor will help you find the “sweet spot” of the board.
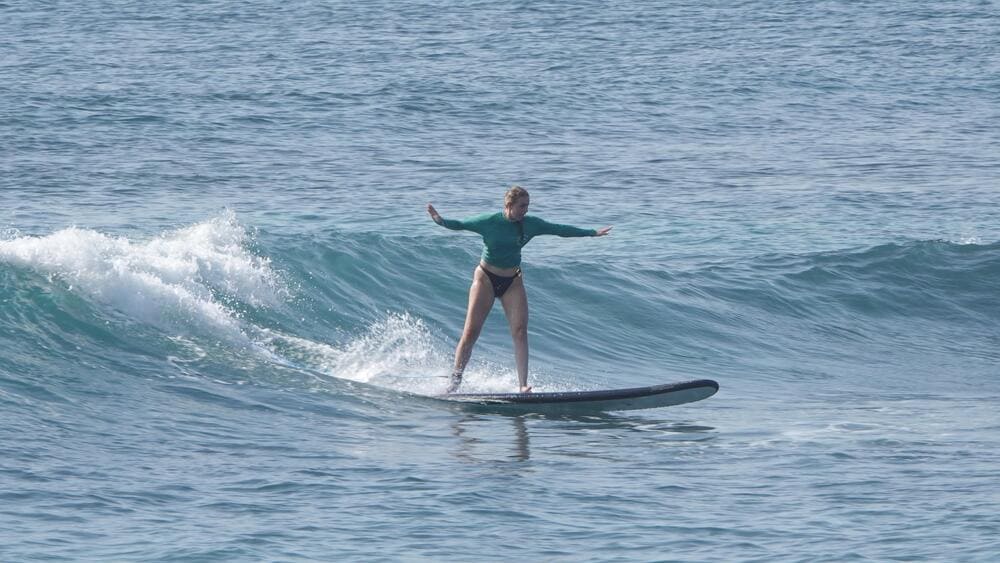
Step 6: Optional Progression (If You’re Ready)
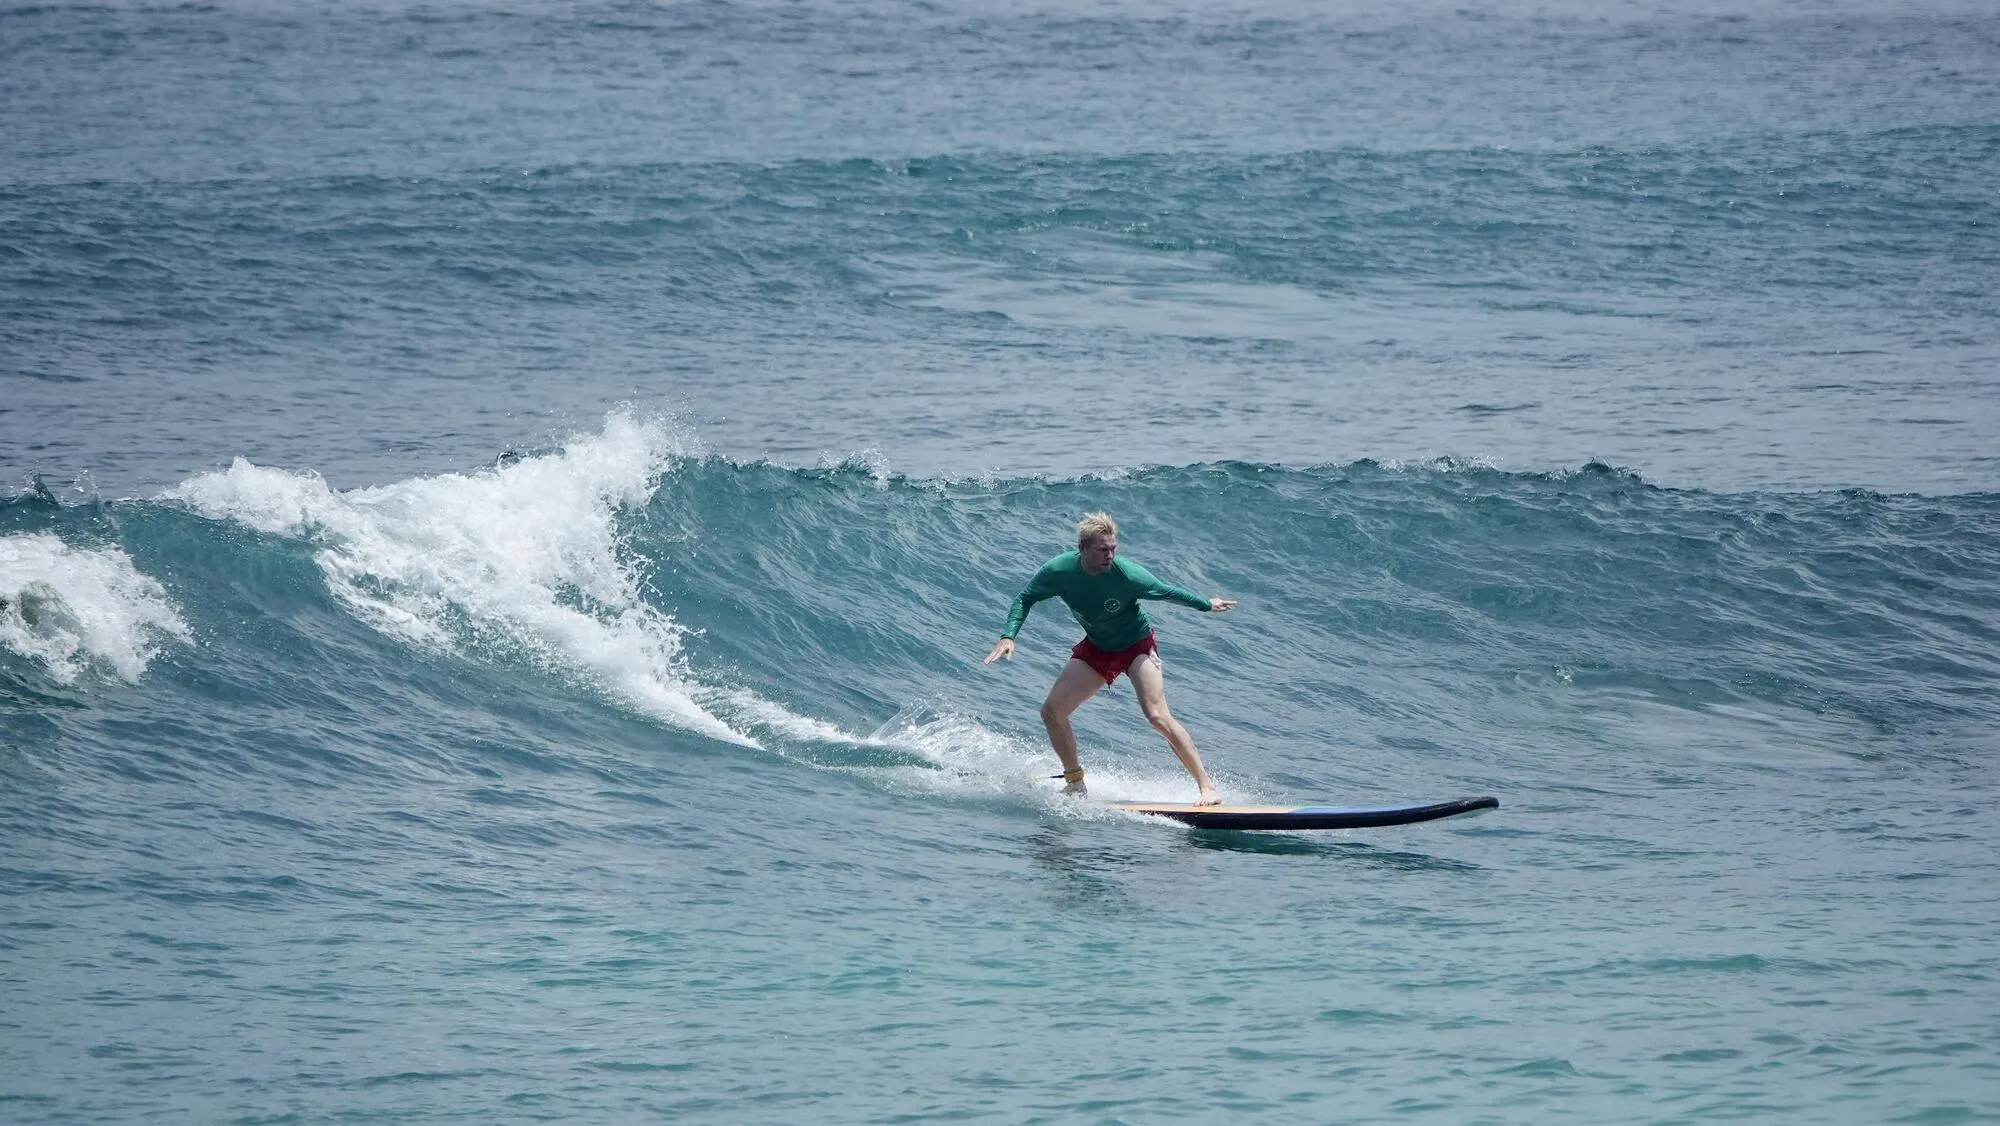
If you manage to stand up consistently and feel balanced in the whitewater, your instructor might suggest moving slightly deeper to try “green waves.” These are waves that haven’t broken yet. Catching a green wave is the “holy grail” for beginners—it feels like gliding on silk rather than the bumpy ride of the whitewater.
At this stage, the lesson shifts toward **timing and direction**. You’ll learn how to angle the board so you can ride across the face of the wave (trimming) rather than just heading straight toward the shore. This is the foundation of turning. However, don’t feel pressured to reach this stage in your first lesson. Successfully standing and riding five whitewater waves to the shore is a massive achievement for a first-timer.

Step 7: The Cooldown and Professional Recap
As the 2-hour session concludes, your instructor will lead you back to the shore for a final recap. This is one of the most valuable parts of the experience. A professional coach will summarize your session, highlighting your technical strengths and identifying the single biggest thing you should work on in your next lesson.
They might also suggest a longer-term **learning roadmap**. Most beginners require 3 to 5 lessons to reach a point where they can surf independently in small conditions. Having a clear plan for your next session helps maintain the momentum of your progress. If you’re interested in the full path from beginner to intermediate, explore our comprehensive surf roadmap.
Pro Tips: How to Accelerate Your Progress in 2 Hours
While every surfer’s journey is unique, certain habits distinguish those who progress quickly from those who struggle. Here’s how to get the most “value for money” from your first surf lesson:
- Communicate Your Goals: Are you here for a one-time fun experience, or do you want to become a serious surfer? Tell your instructor. This helps them decide how much technical depth to go into.
- Embrace the Falls: Falling is 90% of surfing, especially in the beginning. Don’t let it discourage you; treat every fall as data. Ask your instructor *why* you fell.
- Focus on One Cue: The ocean is a sensory-overload environment. Don’t try to fix five things at once. Pick one cue (like “keep knees bent”) and repeat it like a mantra for 10 waves.
- Take Strategic Breaks: Surfing is an interval-training sport. If you’re gasping for air, your technique will suffer. Take a 5-minute break in the shallow water to reset your heart rate and listen to your instructor’s advice.
- Frequency Over Intensity: Two lessons spaced 24 hours apart are much more effective than one 4-hour marathon session. Your brain needs sleep to consolidate the new motor skills you’re learning.
Addressing Common Beginner Concerns
It’s completely normal to feel a mix of excitement and anxiety before your first surf lesson. Here are the most common concerns we hear from first-timers, and the reality of how a professional lesson handles them:
“I’m not strong enough to surf.”
Reality Check: You don’t need to be an Olympic athlete. While fitness helps, first-timer lessons are designed for average fitness levels. The large, high-volume boards do 90% of the work for you. Your instructor’s job is to teach you timing and technique, which are far more important than brute strength.
“I’m scared of the ocean/waves.”
Reality Check: Professional instructors in Bali (especially those who are lifeguard-certified) are experts at managing fear. They will start you in very shallow water where you can always touch the bottom. They choose “soft” waves that don’t have much power. As your confidence grows, they will slowly move you into more dynamic zones.
“Will I stand up in my first lesson?”
Reality Check: About 80-90% of beginners stand up on at least one wave in their first 2-hour session. However, “standing up” isn’t the only metric of success. Understanding how to handle your board and stay safe is a much bigger win for your long-term surfing life.
- Secure Swimwear: As mentioned, functionality over fashion is key here.
- A Large Towel: For drying off and potentially changing on the beach.
- Dry Clothes: To change into after your session.
- Zinc/Sunscreen: Even if the instructor provides some, having your own is a good backup.
- Drinking Water: Bring at least 1 liter of fresh water to rehydrate immediately after exiting the ocean.
- Flip-flops: Essential for walking on the hot Bali sand.
- Minimal Valuables: Don’t bring expensive jewelry or large amounts of cash to the beach. Most schools have basic storage, but it’s better to leave valuables in your hotel safe.
Book your 2-hour session directly via WhatsApp for the best local rates and flexible scheduling:
WhatsApp: Chat with Bali Surf Pro
View all our lesson options and pricing: Surf Lesson Packages